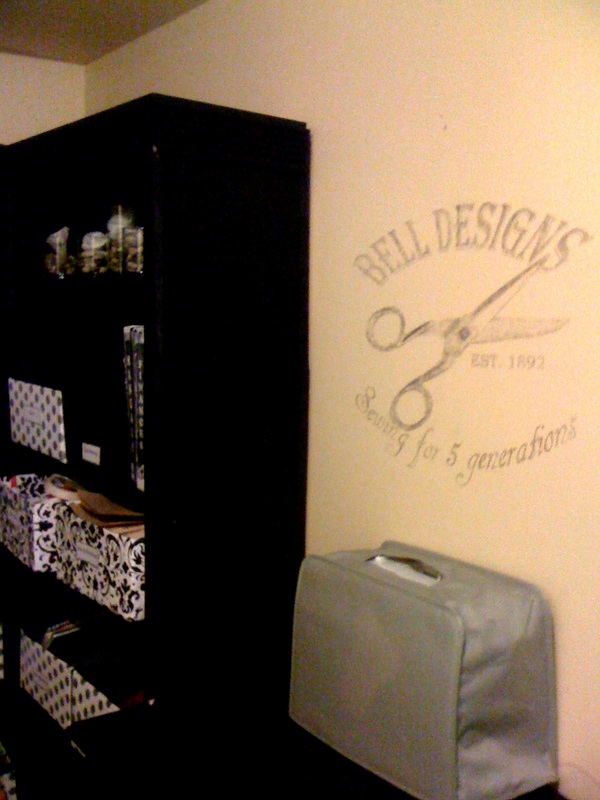
I don't know about you, but I have Pinterest envy. I don't have cricut machine - much to my chagrin - and I see all of these lovely projects that I just can't do! When I got it into my head that I was going to do my own wall design up in my craft room, I got busy researching ways to do that without vinyl. The best part about this project? You don't need a fancy machine and you probably already have the necessary items in your kitchen cabinet!
Thank you so much to Angela from Unexpected Elegance for the blog post about how to use wax paper to transfer onto wood. It got me thinking about if I could transfer onto painted drywall? Here are the fruits of my very successful experiment! Enjoy!
What you'll need:
- scissors
- wax paper
- 2 sheets of computer paper
- masking tape
- inkjet printer
- reversed image of what you'd like to print
- credit card or paint edger
STEP 1:
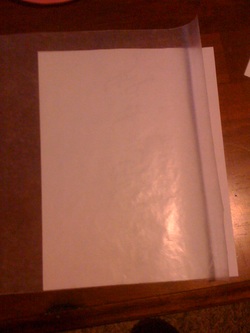
Cut your wax paper to match the size of your computer paper. If you have a larger image like I used, I would suggest cutting 5 or 6 wax paper sheets so you can keep your momentum going later...
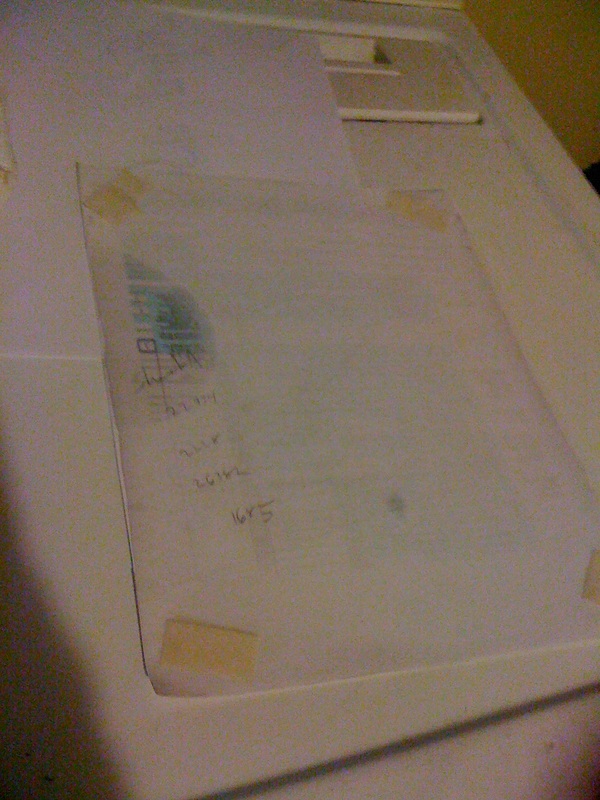
STEP 2: Attach your masking tape to your 2nd piece of scrap paper. Place the wax paper on top of the tape and rub to secure.
NOTE- I tried to just print just using the wax paper through the printer and it ended up wrinkled and messy like this:
NOTE- I tried to just print just using the wax paper through the printer and it ended up wrinkled and messy like this:
I know there are other bloggers who have been able to skip this step (of taping the wax paper to the paper and feed the wax paper right into the printer) but for me, this was the next best solution. On the plus side, the wax paper comes off of the masking tape easily so you can re-use the tape and computer paper over and over again.
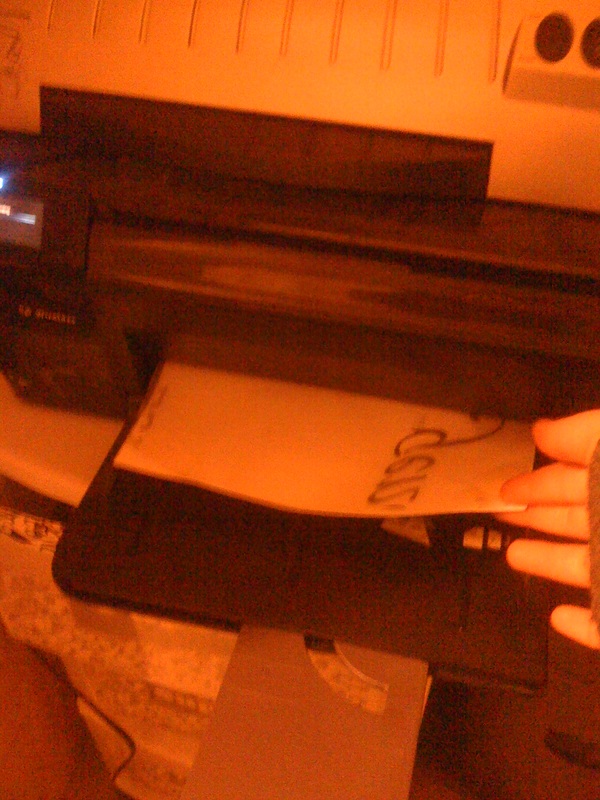
Make sure you print on the wax paper, not the computer paper!
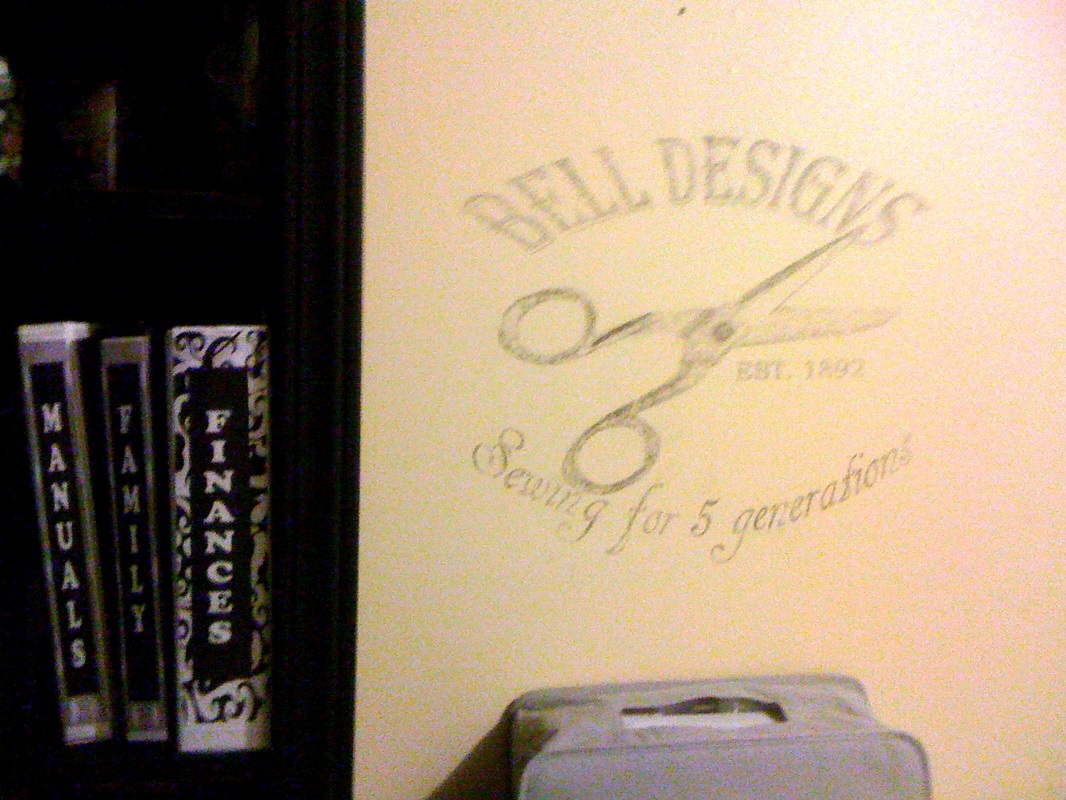
STEP 3: Now take your printed wax paper image off of the scrap paper gently, as to not wrinkle the paper or touch the wet ink. Make sure you have some extra pieces of tape handy as you'll need it to adhere the image to the wall so that it doesn't move and get blurry. Place it where you want it (wet side against the wall). You should be able to read the words clearly (if your image has words).
STEP 3: Now take your printed wax paper image off of the scrap paper gently, as to not wrinkle the paper or touch the wet ink. Make sure you have some extra pieces of tape handy as you'll need it to adhere the image to the wall so that it doesn't move and get blurry. Place it where you want it (wet side against the wall). You should be able to read the words clearly (if your image has words).
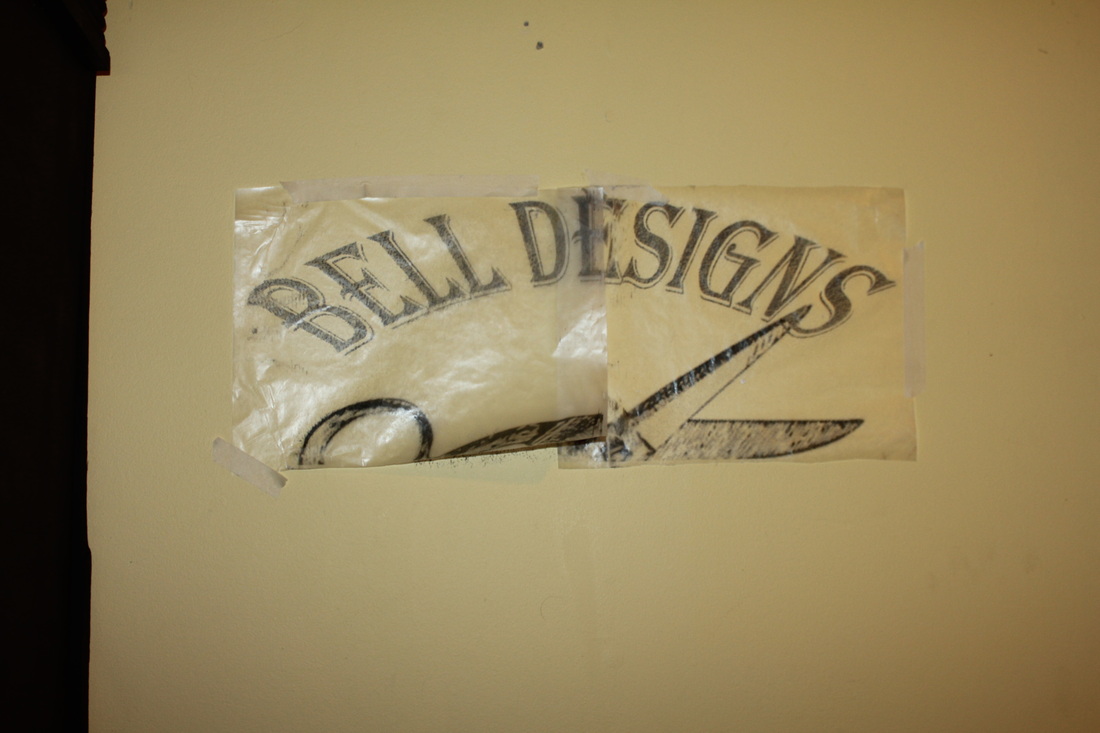
STEP 4: After your image is hung, grab your "scraper." For me, I found it easier to use a paint edger. But you can easily use a credit card if you don't have the edger handy. You're going to scrape over the wax paper so your image transfers to the wall. Below are images to help you see the difference in times spent on each area. For my image, I found that scraping for a solid 10 seconds per letter obtained the effect that I wanted.
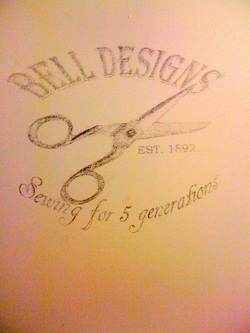
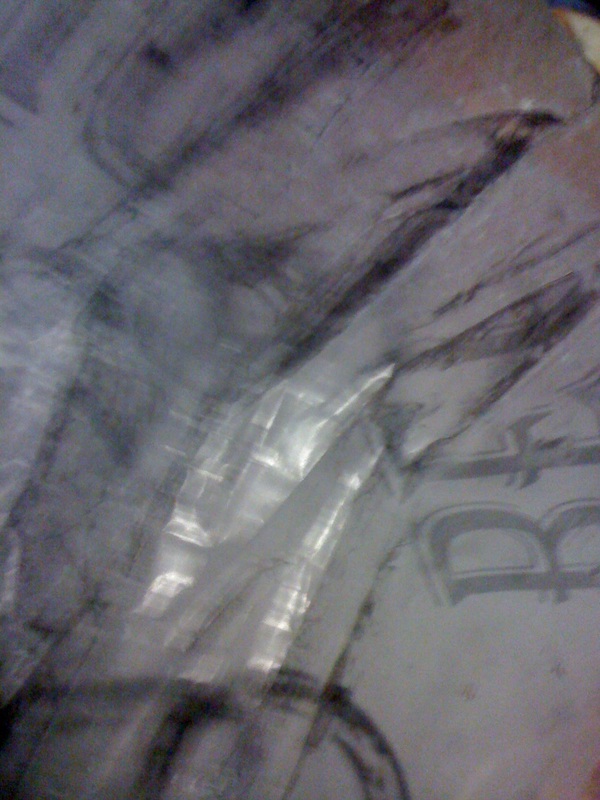
The image above shows how it looks when it's first on the wall - no scraping.
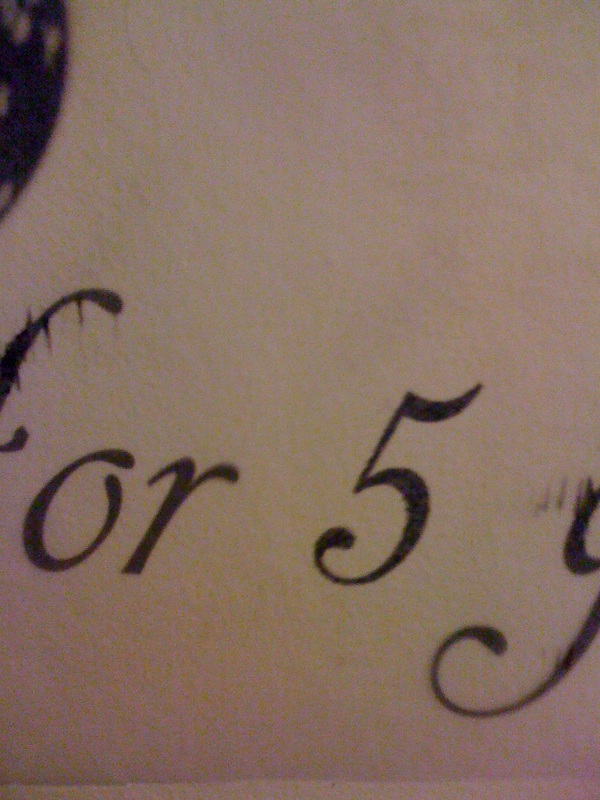
The image above shows how it looks after 10 seconds of scraping. It's significantly darker, which is what you want!
SOME NOTES TO MAKE THIS PROJECT EASIER:
- When you put the image onto the wall, if you have overlapping areas, either cut off the access area, or put the image UNDER your old paper because otherwise, there will be places in the margin where ink didn't print and you'll have a little gap on the wall.
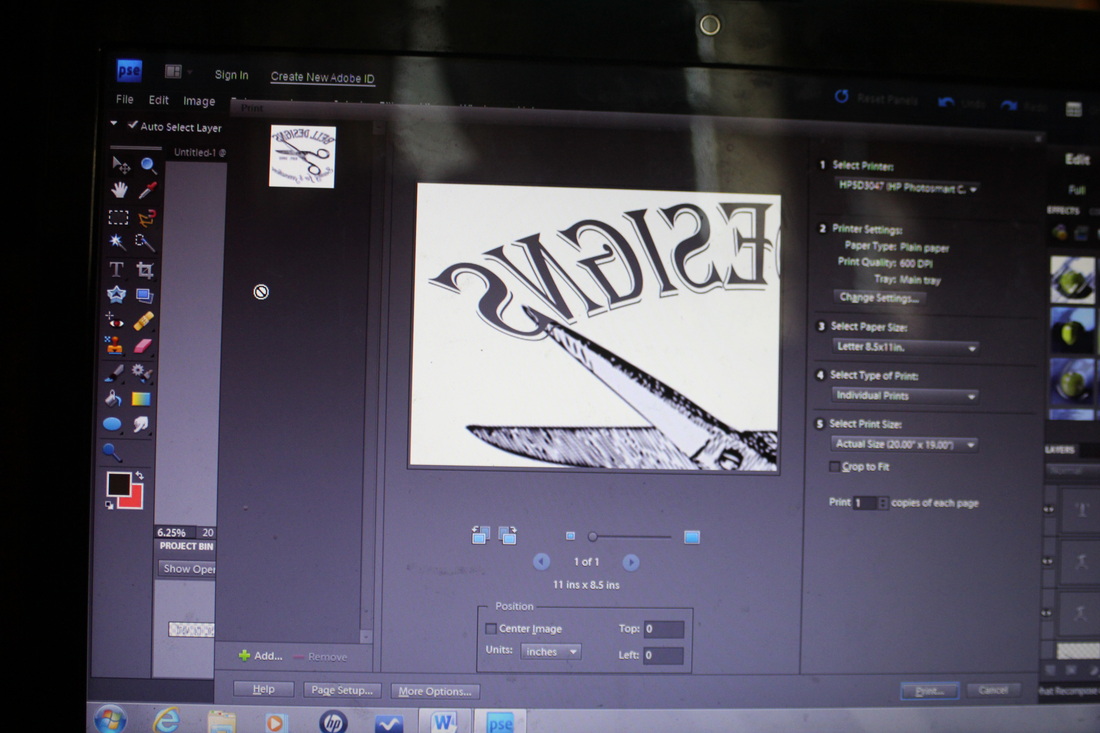
- I used photoshop elements but you can use many different programs. I made my document to the exact size I wanted (20"x19") and when I pressed print, I was allowed to view which section was going to print. By using this feature, I was able to print seamlessly.
- When you put the image onto the wall, if you have overlapping areas, either cut off the access area, or put the image UNDER your old paper because otherwise, there will be places in the margin where ink didn't print and you'll have a little gap on the wall.
- I used photoshop elements but you can use many different programs. I made my document to the exact size I wanted (20"x19") and when I pressed print, I was allowed to view which section was going to print. By using this feature, I was able to print seamlessly.
- I suggest printing out one page at a time if you have a larger image, as you don't want the ink to dry on the wax paper instead of the wall!
- If you would like your letters darker, you can easily print another wax paper copy and transfer more ink to the image!
- If you have photoshop, I'm attaching my PSD of my logo here so you can personalize it and make it your own!
Feel free to ask any questions! Please link my page if you use this for your own blog... But I'd love to see your projects too!
Enjoy! ~Ash