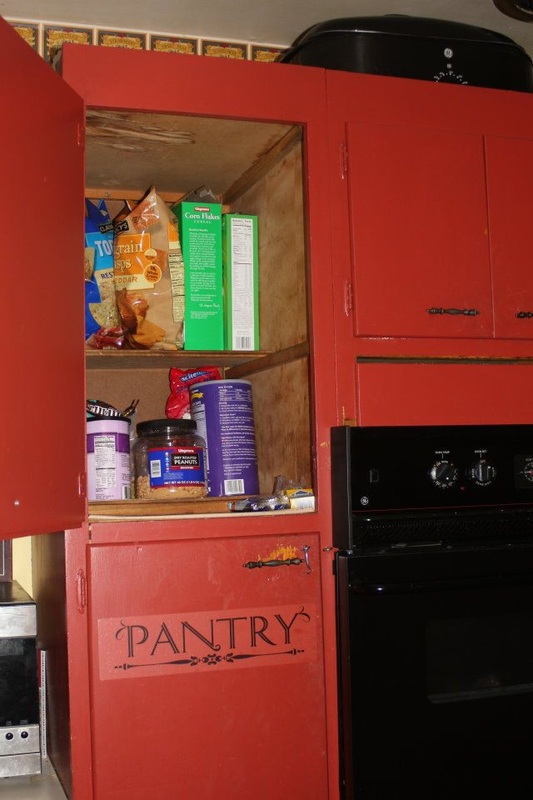
Let me start with saying that I love my kitchen! I love the layout, the colors and the storage space. When we first moved in a year ago, I was bound and determined to make it organized. Within a week of moving, I had my husband cut shelves for the pantry and I printed out sweet little labels for each section. This is my pantry (top level is open and lower cupboard is closed...)
Now, I'm working on a project to get the rest of my life as organized as my kitchen. The next few posts will be along those lines... So fair warning! :D
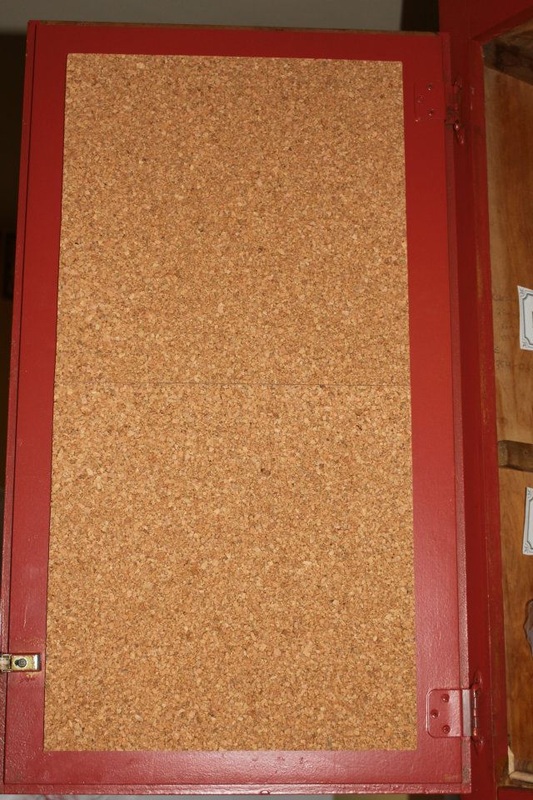
My first step was to have a place for all of those pesky little papers that seem to accumulate on top of the mantle, on top of the entertainment center, in "catch all" drawers and random spaces on my desk. It drives me nuts! So my first step was to find a place for a cork board. You may think I'm crazy for putting one in my cupboard, but I'm using this organizational system for coupons and rebates so it makes sense for it to be here. Plus, it's said that the kitchen is the heart of the home... Right? Well, it just makes sense to me that if I want the rest of my life organized to start with the heart beat! So here we go...
What you'll need:
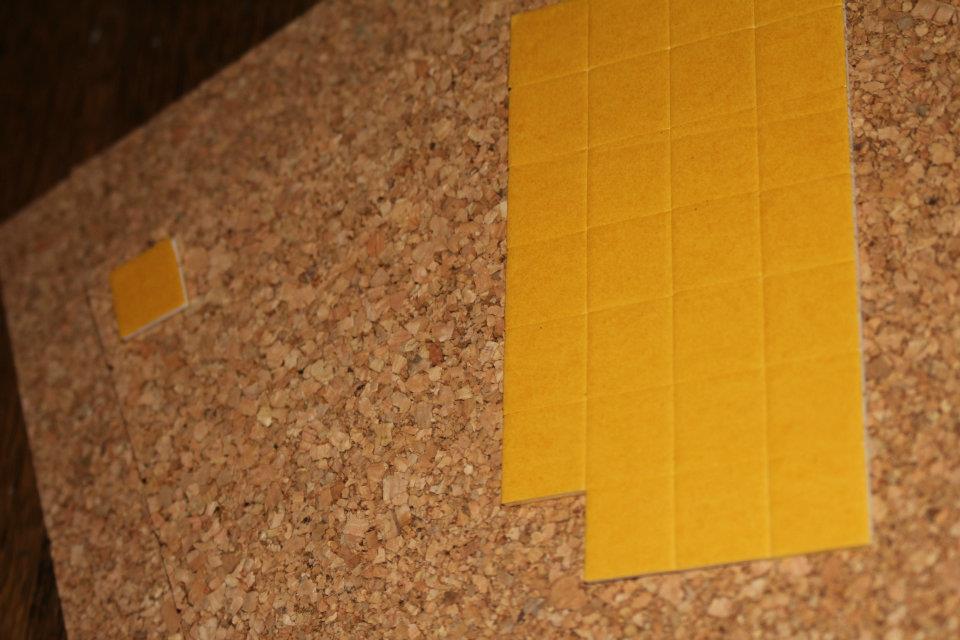
1. Cork Board Squares (pkg of 4 at Lowes for $8.99): I only used two but you can use as many as you want! The cork board kit also comes with adhesive!
My first step was to have a place for all of those pesky little papers that seem to accumulate on top of the mantle, on top of the entertainment center, in "catch all" drawers and random spaces on my desk. It drives me nuts! So my first step was to find a place for a cork board. You may think I'm crazy for putting one in my cupboard, but I'm using this organizational system for coupons and rebates so it makes sense for it to be here. Plus, it's said that the kitchen is the heart of the home... Right? Well, it just makes sense to me that if I want the rest of my life organized to start with the heart beat! So here we go...
What you'll need:
1. Cork Board Squares (pkg of 4 at Lowes for $8.99): I only used two but you can use as many as you want! The cork board kit also comes with adhesive!
1. Measure your space: I didn't have to cut my squares to make the shape I wanted but the possibilities are endless here!!! Do what fits your space and your needs!
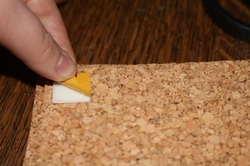
2. Set the squares. If you need to cut the cork, do so now. After that, you're going to put on the adhesive by removing the paper coverings on both sides. I found it easier to remove the paper from the squares BEFORE placing them on the cork.
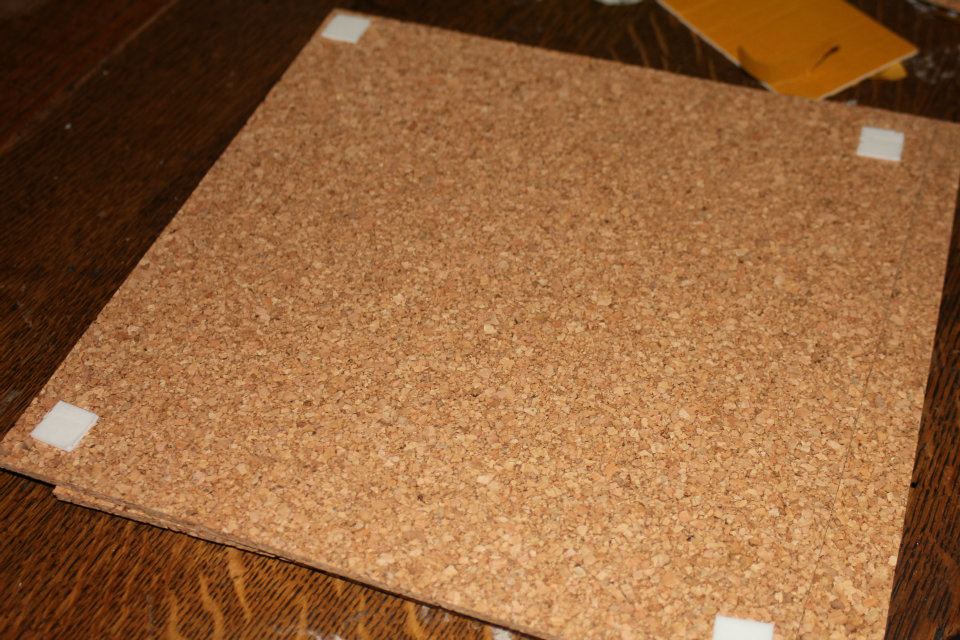
3. Hang your cork: Plop that thang right up there and rub the spots where the adhesive is attaching the cork to yours surface.
4. Step back and enjoy! See my DIY Flower Pushpins instructions to make it more personalized!
